Table of Contents
Growing up in the bustling city of Chicago, my kitchen was always a whirlwind of activity. My mother and babcia (that’s grandma in Polish) would be busy whipping up delicious Polish dishes that filled our home with warmth and love. But amidst the pierogis and kielbasa, there was always room for a little American flair. One of my fondest memories is of my babcia trying her hand at baking a red velvet cake. It was a disaster! The cake was as flat as a pancake, but we all laughed until our sides hurt. Fast forward to today, and I’ve taken that memory and turned it into something special with my gluten free red velvet recipe. It’s a nod to my Polish roots with a modern twist that my family adores.
Why You’ll Love This Recipe
This gluten free red velvet cake is a dream come true for anyone who loves a classic dessert with a modern, health-conscious twist. It’s incredibly moist, with a perfect balance of cocoa and vanilla flavors, topped with a creamy, tangy frosting. The best part? It’s entirely gluten-free, making it a delightful treat for those with dietary restrictions. Whether you’re serving it at a family gathering or enjoying a slice with a cup of coffee, this cake is sure to become a favorite. Plus, it’s easy to make, so you won’t spend all day in the kitchen.
Ingredients
- 1 1/2 cups gluten-free all-purpose flour
- 1 cup granulated sugar
- 1/4 cup cocoa powder
- 1 teaspoon baking soda
- 1/2 teaspoon salt
- 2 large eggs
- 1 cup buttermilk
- 1/2 cup vegetable oil
- 1 teaspoon vanilla extract
- 1 tablespoon red food coloring
- 1 teaspoon white vinegar
- 1/2 cup unsalted butter, softened
- 8 oz cream cheese, softened
- 4 cups powdered sugar
- 1 teaspoon vanilla extract

Step-by-Step Instructions
- Preheat your oven to 350°F (175°C). Grease and flour two 9-inch round cake pans.
- In a large bowl, whisk together the gluten-free flour, sugar, cocoa powder, baking soda, and salt.
- In another bowl, beat the eggs and add the buttermilk, oil, vanilla extract, red food coloring, and vinegar. Mix well.
- Gradually add the wet ingredients to the dry ingredients, mixing until just combined.
- Divide the batter evenly between the prepared cake pans.
- Bake for 25-30 minutes or until a toothpick inserted into the center comes out clean.
- Let the cakes cool in the pans for 10 minutes, then turn them out onto a wire rack to cool completely.
- For the frosting, beat the butter and cream cheese together until smooth. Gradually add the powdered sugar and vanilla extract, beating until fluffy.
- Once the cakes are cool, spread frosting between the layers and over the top and sides of the cake.
What Makes This Recipe Special
- Quick and easy to prepare
- Packed with flavor and nutrition
- Perfect for any occasion
- Customizable to your taste preferences
- Budget-friendly ingredients
Expert Tips for Success
To ensure your gluten free red velvet cake turns out perfectly, here are a few tips: First, make sure all your ingredients are at room temperature before you start. This helps them blend together smoothly. Second, don’t overmix the batter, as this can make the cake dense. Finally, if you’re new to gluten-free baking, invest in a good quality gluten-free flour blend. It makes all the difference in texture and taste.
When I make this recipe, my go-to tool is the Silicone Utensils Set. They are perfect for mixing the batter without scratching my bowls. And for slicing the cake, the MOSFiATA 8″ Professional Chef’s Knife is a must-have. It cuts through the cake like butter, ensuring each slice is as neat as the last.

Variations and Substitutions
If you’re looking to put your own spin on this gluten free red velvet cake, there are plenty of ways to do so. You can add a teaspoon of espresso powder to the batter for a mocha twist, or fold in some chopped nuts for added texture. If you’re dairy-free, substitute the buttermilk with almond milk mixed with a tablespoon of lemon juice, and use a dairy-free cream cheese for the frosting.
Serving Suggestions
This gluten free red velvet cake is a showstopper on its own, but if you’re looking to elevate your dessert table, consider serving it with a scoop of vanilla ice cream or a dollop of whipped cream. A cup of freshly brewed coffee or a glass of cold milk complements the cake beautifully, making it a perfect treat for any occasion.

FAQs
Can I make this cake ahead of time?
Absolutely! You can bake the cake layers a day in advance and store them in an airtight container. Frost the cake on the day you plan to serve it for the best texture.
What if I don’t have red food coloring?
No worries! The food coloring is mainly for visual appeal. You can skip it, and the cake will still taste delicious. Alternatively, you can use natural food coloring made from beet juice.
Final Thoughts
Making this gluten free red velvet cake is like taking a walk down memory lane for me, with a few modern twists. It’s a recipe that brings joy to my family, and I hope it does the same for yours. Remember, the best ingredient in any recipe is love, so don’t forget to sprinkle a little in while you bake!
👉 I hope you loved making this Gluten Free Red Velvet Cake—it’s like a sweet, velvety hug from the inside out. If you’re in the mood for more delightful desserts, why not try my Gluten-Free Chocolate Cake, Polish Apple Cake, or Banana Bread? Join us on our Facebook Page and Facebook Group—and don’t forget to follow on Pinterest for daily inspiration!
· ·
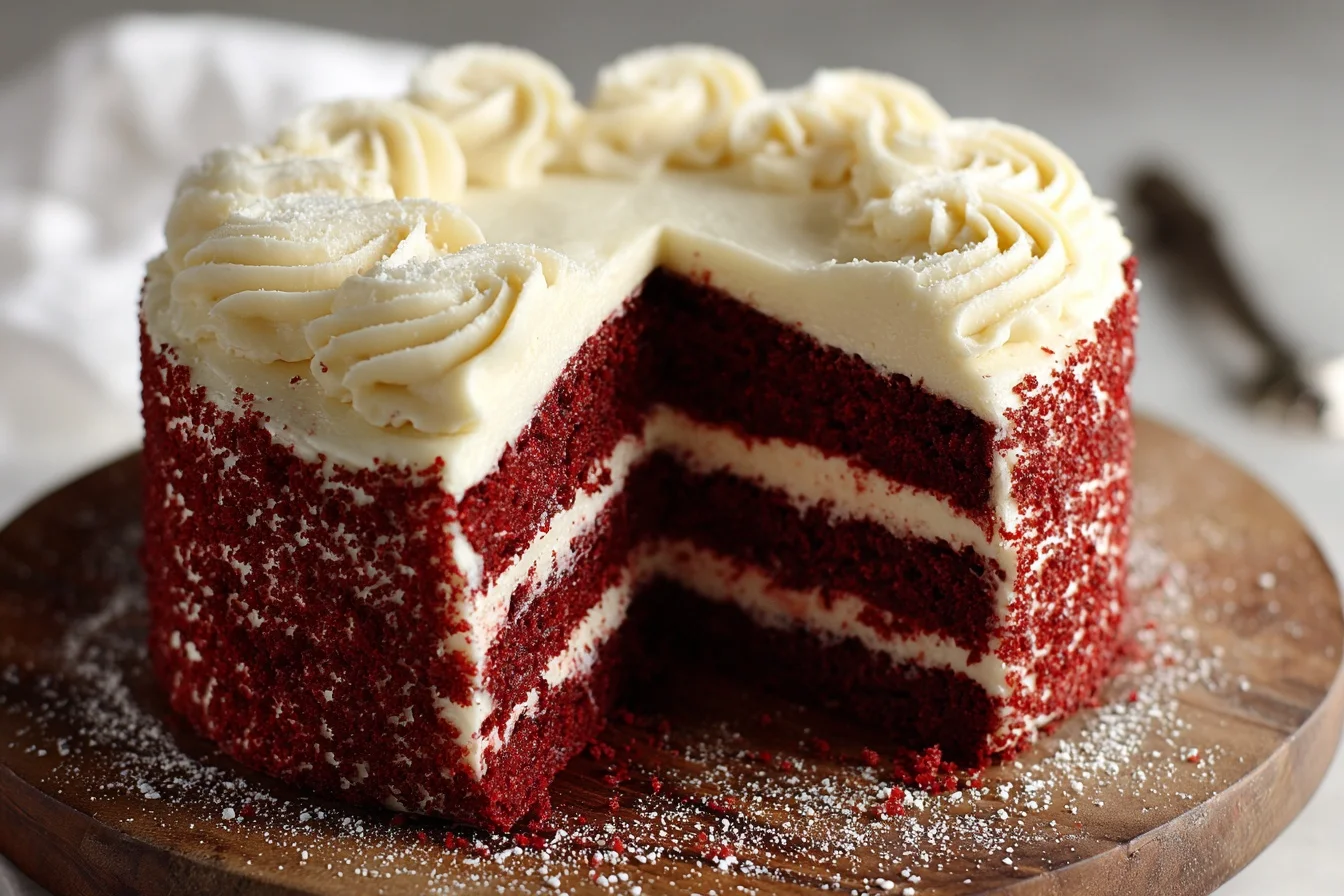
Gluten Free Red Velvet Cake
A moist and delicious gluten free red velvet cake with a creamy, tangy frosting.
Keep the screen of your device on while you follow the steps.
- Preheat your oven to 350°F (175°C). Grease and flour two 9-inch round cake pans.
- In a large bowl, whisk together the gluten-free flour, sugar, cocoa powder, baking soda, and salt.
- In another bowl, beat the eggs and add the buttermilk, oil, vanilla extract, red food coloring, and vinegar. Mix well.
- Gradually add the wet ingredients to the dry ingredients, mixing until just combined.
- Divide the batter evenly between the prepared cake pans.
- Bake for 25-30 minutes or until a toothpick inserted into the center comes out clean.
- Let the cakes cool in the pans for 10 minutes, then turn them out onto a wire rack to cool completely.
- For the frosting, beat the butter and cream cheese together until smooth. Gradually add the powdered sugar and vanilla extract, beating until fluffy.