Table of Contents
Introduction
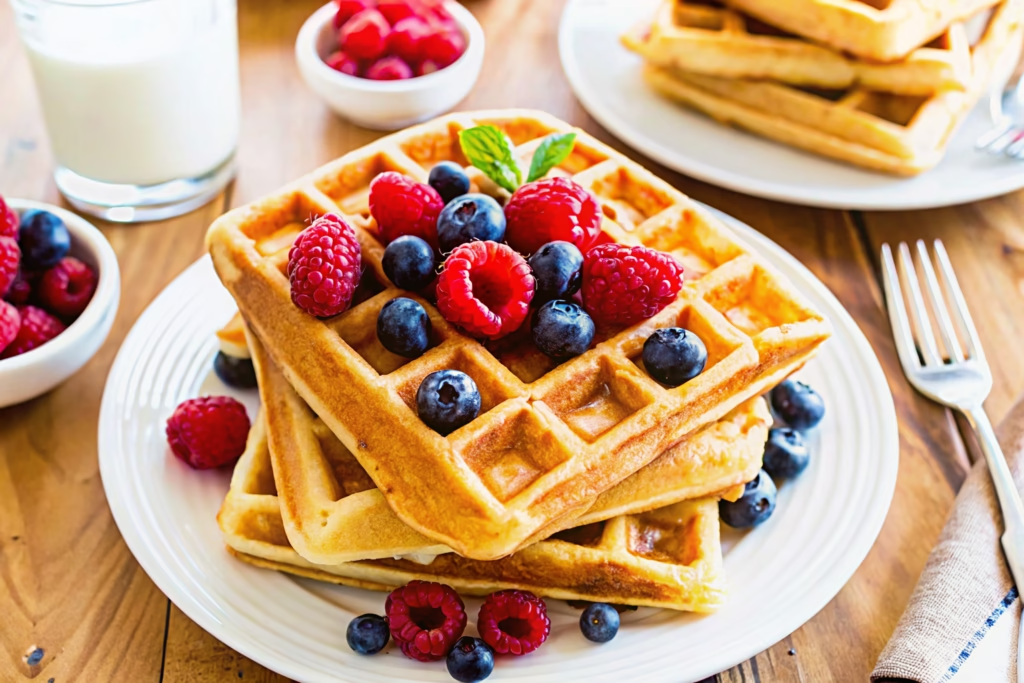
Gluten-free waffles aren’t just a substitute—they’re a breakfast favorite in our home. Light, crisp, and golden, these waffles promise all the classic flavor and texture you love, without a hint of gluten. Whether you’re feeding a family with allergies or simply looking for a wholesome start, this recipe delivers waffles that are fluffy inside, crisp on the outside, and easy enough for any busy morning. In this article, you’ll learn the secrets to perfect gluten-free waffles, plus tips for making them ahead, freezing, and topping them for the ultimate brunch. Grab your waffle iron and let’s get cooking!
The Story & Why Gluten-Free Waffles Belong at Your Table
Waffles That Bring Everyone Together
Gluten-free waffles have become a breakfast tradition in our kitchen. My daughter Emily loves watching the batter sizzle and steam in the waffle iron, and my husband Marek is always first in line for the crispiest corner piece. Years ago, when we started baking gluten-free for family health reasons, we worried about flavor and texture—but those worries quickly faded with our very first batch.
Waffles in our home aren’t just about the food—they’re about weekend mornings in pajamas, laughter around the kitchen table, and that first bite of something warm and comforting. These gluten-free waffles quickly earned a permanent place in our family recipe box. Whether you’re dealing with celiac, gluten sensitivity, or just want to try something new, this recipe delivers waffles that make everyone feel included and excited for breakfast.
Tradition Meets Easy Modern Baking
What I love about gluten-free waffles is their flexibility. You can mix up the batter the night before, stir in extra flavors like vanilla or cinnamon, and swap in your favorite non-dairy milk or butter. My mother, who taught me to appreciate every crispy edge and tender crumb, always says the best waffles are the ones that bring people together—no matter what ingredients you use.
For us, gluten-free waffles are more than a recipe—they’re a reason to gather and a reminder that delicious breakfasts don’t need to be complicated. When you find a gluten-free recipe that’s this good, you keep making it, passing it down, and inviting everyone to the table.

The Essential Ingredients and How to Make Gluten-Free Waffles
Making perfect gluten-free waffles starts with the right mix of flours and simple, wholesome ingredients. A good gluten-free flour blend is the backbone of this recipe—it should contain a mix of rice flour, tapioca, and potato starch for that classic waffle crispness and tender bite. If your blend doesn’t include xanthan gum, add a half-teaspoon per batch to help bind everything together and create a light, chewy texture.
Eggs are crucial—they provide structure and fluff, while a bit of oil or melted butter gives your waffles golden, crisp edges. Milk (dairy or any plant-based option) brings moisture and richness. For flavor, vanilla extract and a little sugar round things out, while a pinch of salt balances the sweetness and brings out the toasty, buttery flavor.
Here’s a basic ingredient list:
* 2 cups gluten-free all-purpose flour blend (with xanthan gum if possible)
* 2 tablespoons sugar
* 1 tablespoon baking powder
* 1/2 teaspoon salt
* 2 large eggs
* 1 3/4 cups milk (dairy or plant-based)
* 1/3 cup oil or melted butter
* 1 teaspoon vanilla extract
To make the batter, whisk together the dry ingredients in one bowl and the wet ingredients in another. Pour the wet mixture into the dry and stir just until combined—the batter should be a little lumpy, not perfectly smooth. This helps create a light, airy waffle.
Preheat your waffle iron and lightly grease it. Pour in the batter, close the lid, and cook until the waffles are golden brown and crisp. Every waffle iron is a bit different, so check the first one and adjust your cook time if needed.
With just a few steps and simple, gluten-free ingredients, you’ll have waffles that are crisp on the outside, tender inside, and ready for any topping you can dream up.

Troubleshooting and Pro Tips for Gluten-Free Waffles
Even the best waffle makers sometimes face a few bumps along the way. If your gluten-free waffles come out soggy or too soft, the problem is usually excess moisture or not enough heat. Make sure your waffle iron is fully preheated before adding the batter—this helps the outside crisp up quickly, locking in the fluffy interior. If the waffles are still too soft, try letting them cook a little longer, or place finished waffles on a wire rack in a warm oven for a few minutes to crisp up.
For batter that’s too thick or thin, add milk or flour one tablespoon at a time until you get a thick, pourable consistency. Gluten-free batters can thicken as they sit, so if your batter seems too stiff after resting, a splash of milk will loosen it up again.
If your waffles stick to the iron, double-check that your waffle iron is well-greased and hot before each batch. A little oil in the batter and on the iron goes a long way toward easy release and perfect golden color.
Flavor is where gluten-free waffles really shine. Stir in a teaspoon of cinnamon or pumpkin spice for extra warmth, or add orange zest and a handful of mini chocolate chips for a brunch treat. Swirl in mashed bananas, blueberries, or even grated apple for fruity twists that make every batch unique.
You can also use this recipe as a base for savory waffles—just cut the sugar in half and add chopped herbs, shredded cheese, or even a pinch of garlic powder. These are perfect with fried eggs, smoked salmon, or avocado for a fresh take on breakfast or lunch.
The beauty of gluten-free waffles is their versatility. With a few easy adjustments, you’ll find the combination your family loves best.

Make-Ahead Tips, Storage, and Creative Ways to Serve Gluten-Free Waffles
Gluten-free waffles don’t just have to be a weekend treat—they’re perfect for meal prep and busy mornings, too. If you want fresh waffles in a flash, prepare the dry ingredients in advance and store in an airtight jar. On waffle day, just whisk in the wet ingredients and you’re ready to cook.
Leftover waffles store beautifully. Once they’re cool, place them in an airtight container and keep them in the fridge for up to three days. For longer storage, stack waffles between sheets of parchment and freeze in a zip-top bag. They reheat perfectly in the toaster or oven, crisping up just like fresh.
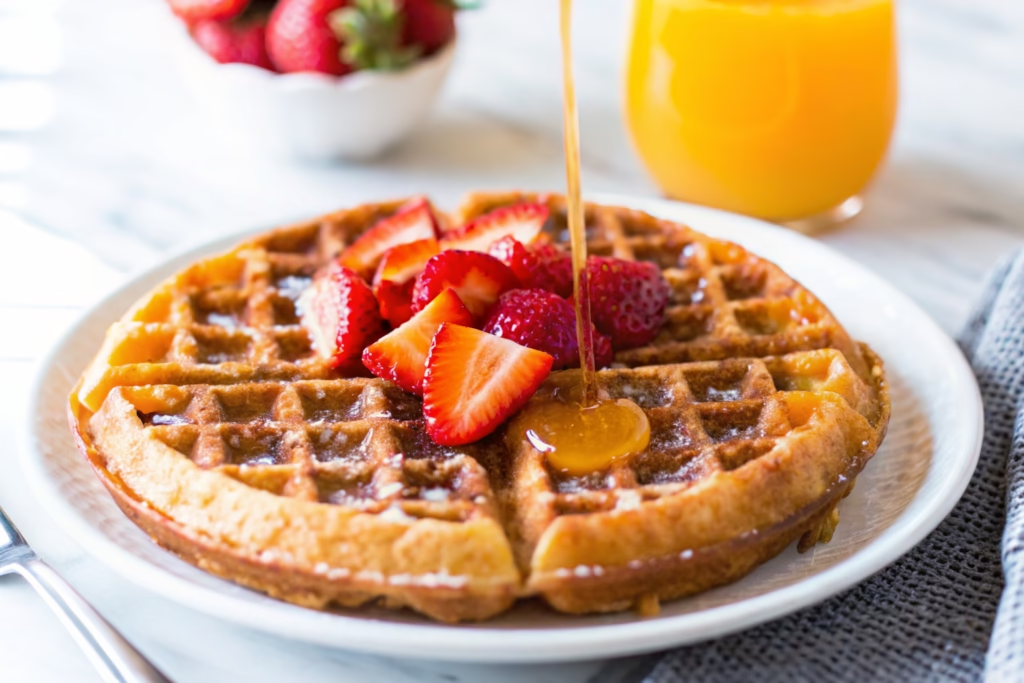
For a fast breakfast, pop a frozen waffle straight into the toaster and enjoy with butter and syrup, nut butter, or fruit compote. For a creative twist, try topping your waffles with Greek yogurt and berries, a dollop of whipped cream, or even a scoop of vanilla ice cream for a decadent dessert. My daughter Emily loves making waffle “sandwiches” with almond butter and sliced bananas—perfect for lunchboxes or snacks.
If you’re serving a crowd, keep cooked waffles warm in a single layer on a rack in a 200°F oven until everyone’s ready to eat. This prevents sogginess and ensures every waffle is crisp and golden.
From weekday breakfasts to special brunches, gluten-free waffles fit every occasion. Their classic flavor and texture mean nobody misses the gluten—and the possibilities for toppings and add-ins are endless.
Print
Gluten-Free Waffles: Crisp, Golden, and Effortlessly Delicious for Any Morning
- Total Time: 25 minutes
- Yield: 6 waffles 1x
Description
Light, crisp, and golden gluten-free waffles with classic flavor and texture—fluffy inside, crisp outside, and perfect for any family breakfast or brunch!
Ingredients
- 2 cups gluten-free all-purpose flour blend (with xanthan gum if possible)
- 2 tbsp sugar
- 1 tbsp baking powder
- 1/2 tsp salt
- 2 large eggs
- 1 3/4 cups milk (dairy or plant-based)
- 1/3 cup oil or melted butter
- 1 tsp vanilla extract
Instructions
- Preheat your waffle iron and lightly grease it.
- In a large bowl, whisk together gluten-free flour, sugar, baking powder, and salt.
- In another bowl, whisk eggs, milk, oil or melted butter, and vanilla until blended.
- Pour wet ingredients into dry and stir just until combined (batter will be slightly lumpy).
- Let batter rest a few minutes while your iron heats up.
- Pour batter into preheated waffle iron (amount depends on your iron). Close and cook until waffles are golden brown and crisp.
- Transfer cooked waffles to a wire rack or warm oven to keep crisp. Repeat with remaining batter.
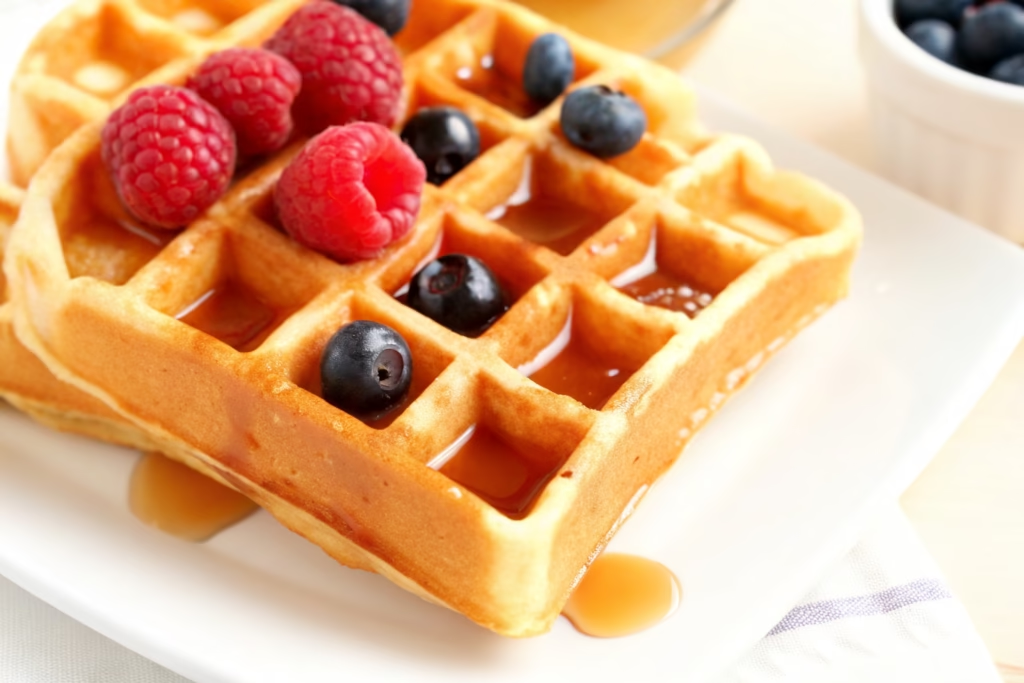
- Serve warm with your favorite toppings—syrup, berries, whipped cream, or nut butter!
Notes
For extra crisp waffles, let them finish in a 200°F oven while you cook the rest. Gluten-free batter thickens as it sits—add a splash more milk if needed. Try add-ins like mini chocolate chips or orange zest for a brunch twist!
- Prep Time: 10 minutes
- Cook Time: 15 minutes
- Category: Breakfast
- Method: Waffle Iron
- Cuisine: Gluten-Free, American
Nutrition
- Serving Size: 1 waffle
- Calories: 210
- Sugar: 4g
- Sodium: 320mg
- Fat: 9g
- Saturated Fat: 2g
- Unsaturated Fat: 6g
- Trans Fat: 0g
- Carbohydrates: 29g
- Fiber: 2g
- Protein: 5g
- Cholesterol: 60mg
Frequently Asked Questions
1. What’s the best flour blend for gluten-free waffles?
A gluten-free all-purpose flour blend that includes xanthan gum, rice flour, tapioca, and potato starch gives the best texture—crisp outside and fluffy inside. Always check that your blend is labeled gluten-free and suitable for baking.
2. Can I make gluten-free waffles dairy-free?
Absolutely. Use your favorite plant-based milk (like almond, oat, or soy) and swap in melted coconut oil or vegan butter for regular butter. The results are still crisp and delicious.
3. How do I keep gluten-free waffles crispy?
Cook waffles until golden and fully set, then cool on a wire rack. For extra crispness, pop finished waffles in a warm oven (200°F) until serving. Avoid stacking hot waffles, which creates steam and makes them soft.
4. Can I freeze gluten-free waffles?
Yes! Cool waffles completely, then freeze in a single layer or with parchment between each. Reheat in the toaster or oven for quick, crispy wa
Conclusion
Gluten-free waffles have earned a permanent place at our family table for good reason—they’re crisp, light, and loved by everyone, whether gluten-free or not. With a handful of simple ingredients and a few easy tips, you can create waffles that bring smiles to the breakfast table, week after week. These waffles are more than a recipe—they’re a reason to gather, experiment with toppings, and make sweet memories together. In our home, there’s always room for just one more waffle, and every batch is a reminder that the best meals are the ones we share.
👉 These Gluten-Free Waffles are everything you want in a breakfast classic—crispy on the outside, fluffy on the inside, and perfectly golden! Whether you’re gluten-free by choice or necessity, this recipe will have you looking forward to weekend brunches and cozy breakfasts all week long.
If you loved these waffles, you’ll definitely want to try our Gluten-Free Greek Quinoa Salad for a fresh, protein-packed side that’s just right for brunch spreads. For a sweet finish, don’t miss our Strawberry Cheesecake Bites or a quick snack like our Edible Chocolate Chip Cookie Dough for One.
Searching for more gluten-free breakfast inspiration? SANTMD’s Lemon Poppy Seed Almond Flour Pancakes are zesty, bright, and naturally gluten-free. Or go classic with Mini Pancake Bites with Fresh Fruit Syrup for a fun twist kids and adults will love.
Looking for more ways to keep breakfast interesting? DanaRecipes has you covered with their Fluffy Pancake Recipe—just swap in your favorite gluten-free flour blend for a safe, delicious treat. Or try their Greek Yogurt Bagels for another gluten-free baking project.
For more cozy kitchen fun, join us on our Facebook Page and connect in our Facebook Group. Don’t forget to follow us on Pinterest for even more gluten-free recipes and family breakfast ideas!

