Table of Contents
Introduction
Skull Cake Pops are the ultimate bite-sized Halloween treat—creepy on the outside yet sweet and delicious on the inside. These little cake balls are shaped like skulls, dipped in candy coating, and decorated with edible details to bring their spooky charm to life. They’re perfect for parties, school events, or as a fun project with kids. Best of all, Skull Cake Pops can be as simple or as detailed as you want, making them a versatile dessert that balances creativity and taste. In this article, we’ll explore the story behind this recipe, the ingredients you’ll need, decorating tips, and serving ideas.
The Story Behind Skull Cake Pops
From Kitchen Fun to Spooky Creations
In our house, cake pops are more than desserts—they’re little edible crafts. Emily loves rolling the cake into balls and dipping them into chocolate, while Marek always insists on testing one “for quality.” My mom, Elizabeth, watches us decorate and laughs, saying the skull faces remind her of old Halloween parties where everything was handmade. The idea of Skull Cake Pops came one October afternoon when Emily asked if we could make “tiny skeleton heads” instead of our usual cake pops. With some candy melts and food-safe markers, we brought those mini skulls to life, and now they’ve become a yearly tradition.
Why Skull Cake Pops Are a Halloween Favorite
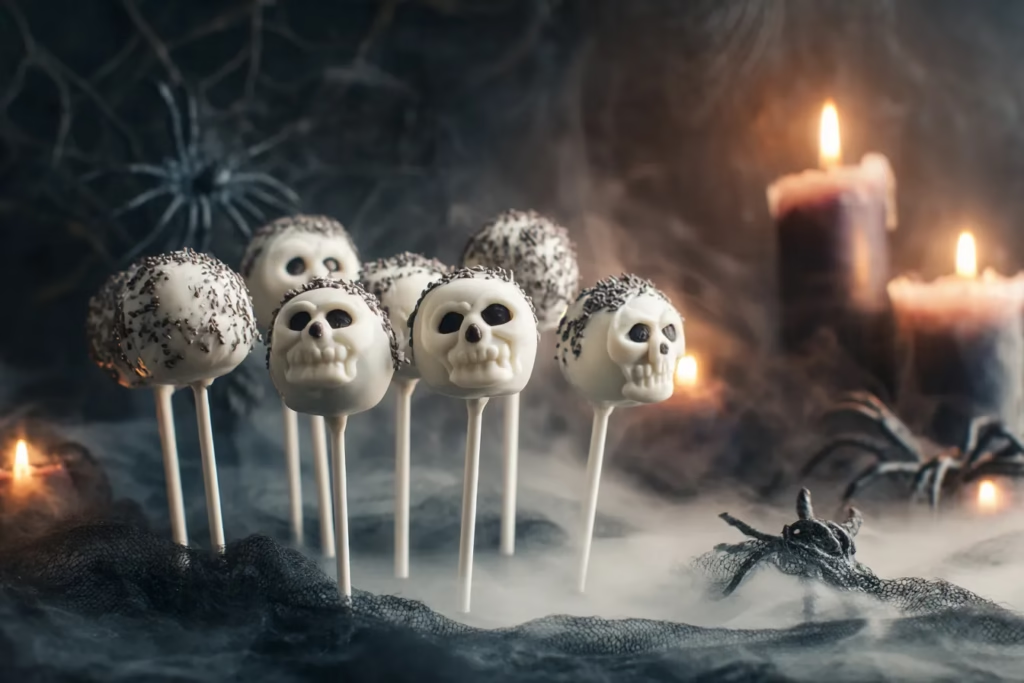
What makes Skull Cake Pops special is the balance of spooky looks and classic flavor. On the inside, they’re rich, moist cake mixed with frosting—just like traditional cake pops. On the outside, a white candy coating transforms them into skulls ready for decorating. They’re portable, easy to serve, and fun for kids to help design. Whether you give them silly smiles, scary grins, or even pirate patches, each skull tells its own story. They’re more than treats—they’re tiny edible characters that bring Halloween fun straight to the dessert table.

Ingredients and Preparation
The Basics You’ll Need
Skull Cake Pops start with a simple cake base that’s crumbled and mixed with frosting before being shaped into skulls. You can use a boxed cake mix or bake from scratch—either way, the fun really begins once you mold and decorate the pops. To make them look like skulls, you’ll need a little creativity with shaping and the right candy coating.
Basic Ingredient List:
- 1 baked cake (chocolate or vanilla works best)
- ½ to ¾ cup frosting (buttercream or cream cheese)
- 12–15 lollipop sticks
- 2 cups white candy melts or almond bark
- 2 tablespoons vegetable shortening (for smoother coating)
- Black edible marker or melted dark chocolate (for faces)
- Styrofoam block or cake pop stand (for drying)
Preparing the Cake Pops
Bake your cake according to recipe or box instructions, then allow it to cool completely. Crumble the cake into fine crumbs using your hands or a fork. In a large bowl, mix the crumbs with frosting a spoonful at a time until the mixture holds together like cookie dough. Scoop out portions and roll them into balls, then shape slightly into oval skull-like forms. To create a more defined skull shape, pinch gently near the bottom to mimic a jawline.
Dipping and Setting
Insert lollipop sticks by dipping the tip of each stick into melted candy melts before pushing it into the shaped cake pop. This helps secure the stick. Chill the pops in the fridge for 20–30 minutes until firm. Once set, dip each skull into the melted white candy coating, allowing excess to drip off. Stick them upright into a Styrofoam block and let the coating harden fully before decorating.

Decorating Ideas and Creative Variations
Bringing the Skulls to Life
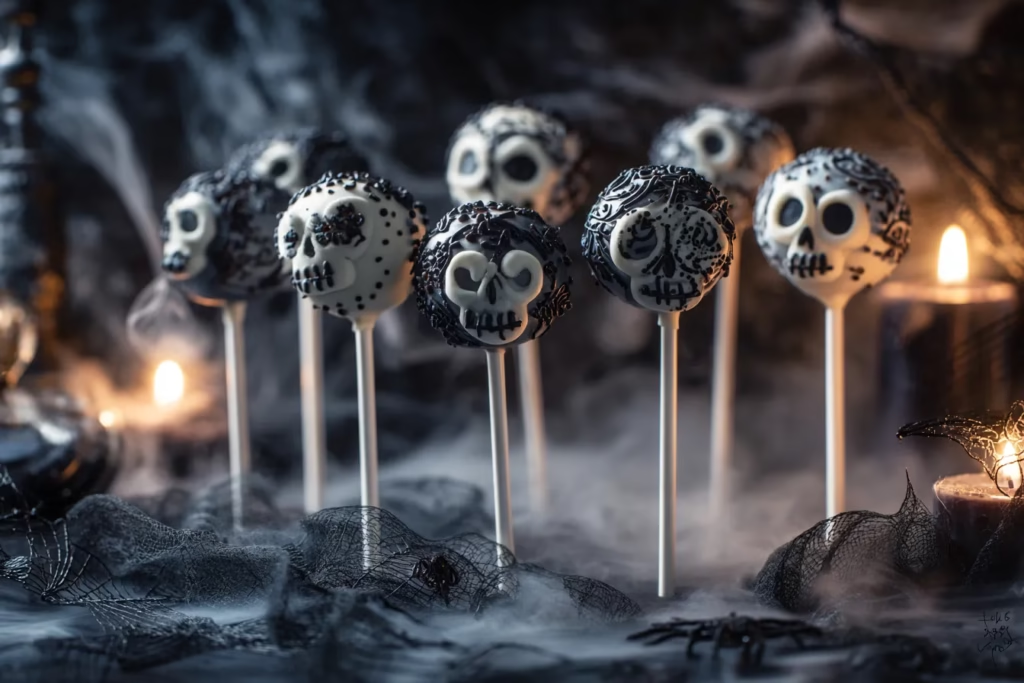
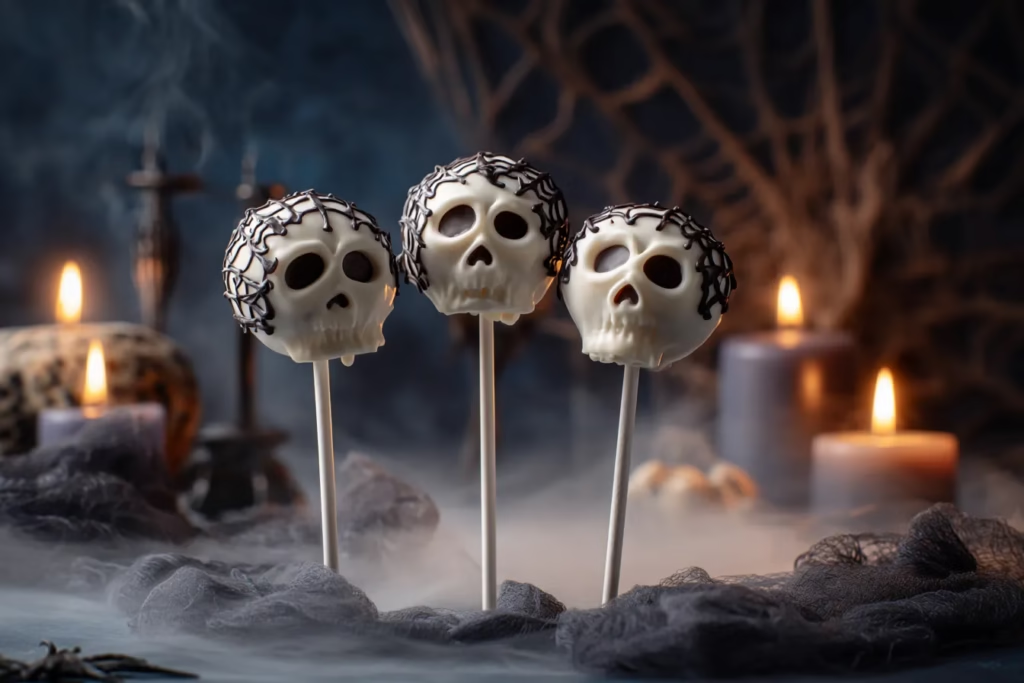
Once your candy coating has hardened, the fun begins—decorating! The simplest way to give your Skull Cake Pops personality is to use a black edible marker to draw on eye sockets, nose holes, and toothy grins. For more depth, melt a little dark chocolate and use a fine-tipped piping bag or toothpick to paint the details. You can make classic skulls with hollow eyes and straight mouths, or get playful with wide, goofy grins and crooked expressions.
Creative Designs for Parties
One of the best parts of Skull Cake Pops is how adaptable they are. If you want a spooky look, give them cracks in their “bones” with thin lines of chocolate. For a Day of the Dead-inspired design, use colorful icing to pipe flowers, swirls, or dots across the skulls. These vibrant sugar-skull designs are both festive and eye-catching, perfect for themed parties. You can also turn your skulls into pirates by adding a red icing bandana, or even mini monsters by sticking on candy horns or fangs. Each pop becomes its own little character.
Fun Variations to Try
You don’t have to stick to the traditional white coating, either. Use dark or milk chocolate candy melts to make “skeleton heads in the shadows,” or try neon-colored candy coatings for a cartoonish, kid-friendly version. Swap out the cake flavor inside—chocolate for richness, vanilla for contrast, or even red velvet for a creepy surprise when you bite in. For an extra indulgent twist, drizzle the finished pops with melted caramel or colored candy melts to add dimension. No matter which variation you choose, Skull Cake Pops guarantee plenty of smiles (and maybe a few playful chills) at any Halloween gathering.

Serving, Storing, and Party Tips
Serving for Maximum Spook Factor
Skull Cake Pops are more than desserts—they double as edible decorations. Arrange them upright in a Styrofoam block or decorative cake pop stand, then cover the base with candy corn, fake cobwebs, or mini pumpkins for a Halloween centerpiece. For a more dramatic effect, group them in a black cauldron or hollowed-out pumpkin, letting the skulls “peer” out at guests. These pops are perfect for dessert tables, party favors, or even as edible name cards—just tie a small tag around each stick with a guest’s name.
Make-Ahead and Storage
One of the best things about cake pops is how well they store. You can prepare the cake-and-frosting mixture a day or two in advance, then shape and dip the pops closer to serving. Once coated, the Skull Cake Pops can be kept at room temperature for 1–2 days in an airtight container, or in the refrigerator for up to a week. If refrigerating, place parchment paper between layers to prevent sticking. For long-term planning, freeze the uncoated cake balls for up to two months, then thaw, dip, and decorate when ready.
Tips for Success
When dipping the skulls, keep the candy coating smooth by adding a bit of shortening if it thickens. Allow excess coating to drip off before standing them upright, which prevents messy pooling at the base. For decorating, edible markers are easiest, but melted chocolate gives a sharper, more defined finish. If kids are helping, give them candy decorations like sprinkles, mini marshmallows, or gummy pieces so they can make funny skull faces. Whether you go for eerie, silly, or colorful designs, Skull Cake Pops are guaranteed to be the star of any Halloween spread.

Skull Cake Pops: Creepy and Fun Halloween Desserts
- Total Time: 1 hour 10 minutes
- Yield: 12–15 cake pops 1x
Description
Skull Cake Pops are spooky, sweet, and perfect for Halloween! These bite-sized treats feature moist cake mixed with frosting, shaped into skulls, dipped in candy coating, and decorated with edible details for maximum frightful fun.
Ingredients
- 1 baked cake (chocolate or vanilla)
- ½ to ¾ cup frosting (buttercream or cream cheese)
- 12–15 lollipop sticks
- 2 cups white candy melts or almond bark
- 2 tablespoons vegetable shortening (for smoother coating)
- Black edible marker or melted dark chocolate (for faces)
- Styrofoam block or cake pop stand (for drying)
Instructions
- Bake your cake according to recipe or box directions. Let cool completely.
- Crumble the cake into fine crumbs and mix with frosting until dough-like.
- Scoop portions and roll into balls, then shape into ovals with a pinched bottom to resemble skulls.
- Melt candy melts and dip the tip of each lollipop stick before inserting into each skull shape.
- Chill cake pops in the fridge for 20–30 minutes until firm.
- Dip each pop fully into melted candy coating, letting excess drip off. Stand upright in Styrofoam to set.
- Once hardened, decorate using edible marker or melted chocolate for eyes, nose, and mouths.
Notes
For smooth coating, add shortening to candy melts. Work in small batches to keep coating from thickening. Decorate with edible markers for ease or melted chocolate for more detail. Store decorated pops in the fridge for up to one week.
- Prep Time: 40 minutes
- Cook Time: 30 minutes
- Category: Dessert
- Method: No-Bake + Dipping
- Cuisine: American
Nutrition
- Serving Size: 1 cake pop
- Calories: 190
- Sugar: 16g
- Sodium: 110mg
- Fat: 9g
- Saturated Fat: 4g
- Unsaturated Fat: 4g
- Trans Fat: 0g
- Carbohydrates: 26g
- Fiber: 1g
- Protein: 2g
- Cholesterol: 20mg
Frequently Asked Questions About Skull Cake Pops
Can I use store-bought cake for Skull Cake Pops?
Yes! A store-bought cake works perfectly. Simply crumble it and mix it with frosting as you would with homemade cake. It’s a great time-saver.
What’s the best way to get smooth skull shapes?
Shape the cake-and-frosting mixture into ovals instead of round balls. Pinch gently at the bottom to form a jawline, and smooth the surface with clean hands before dipping.
How do I keep the cake pops from falling off the sticks?
Dip each lollipop stick in melted candy coating before inserting it into the cake ball. This creates a seal that holds the stick firmly in place once chilled.
Can Skull Cake Pops be made ahead of time?
Absolutely. You can prepare and freeze the uncoated cake balls for up to two months. Once dipped and decorated, they keep fresh in the fridge for about a week.
Conclusion
Skull Cake Pops are the perfect mix of spooky fun and sweet indulgence. With their moist cake centers, creamy coating, and endless decorating possibilities, they transform a classic dessert into a Halloween showstopper. Whether you make them silly with big smiles, eerie with cracked details, or vibrant with sugar-skull designs, each one becomes a tiny edible masterpiece. They’re easy enough for kids to help create yet impressive enough to wow guests at any party. Best of all, they can be made ahead, stored easily, and customized to fit any theme. Skull Cake Pops aren’t just treats—they’re festive, playful, and guaranteed to bring Halloween spirit to your dessert table.
👉 I hope you had a bone-chillingly fun time making these Skull Cake Pops—they’re spooky, sweet, and the perfect handheld Halloween treat. With their rich cake centers coated in chocolate and decorated to look like little skulls, these pops are guaranteed to steal the show at any party. 💀🍭
If you loved these, you’ll also enjoy our Strawberry Cheesecake Bites—bite-sized, creamy, and just as fun to decorate. For a quick no-bake option, try our chewy No-Bake Chocolate Chip Cookie Dough Bars or indulge in our comforting Edible Chocolate Chip Cookie Dough for One.
Over at SANTMD, you’ll find more party-perfect sweets like their spooky-good Thin Mint Cookie Truffles or their decadent No-Bake Blueberry Cheesecake—both excellent additions to a Halloween dessert table.
And for even more festive fun, DanaRecipes has you covered with their hauntingly good Churro Cheesecake or their gooey Apple Pie Bombs—treats that disappear as fast as you can serve them.
💀🎃 Don’t forget to share your Skull Cake Pops with us on our Facebook Page and in our Facebook Group. And of course, check out our Pinterest for more spooky-sweet inspiration all season long!

