Introduction
Everyone loves a good hamburger, but finding the right gluten-free hamburger bun that matches the texture and flavor of traditional ones can be a real challenge. Whether you’re hosting a summer BBQ or just craving a burger at home, these gluten-free hamburger buns are a game-changer. Inspired by family meals shared around the grill, these buns offer the perfect balance of softness and sturdiness to hold all your favorite fillings. Join me as I take you through how to make these buns, bringing a little piece of my family kitchen into yours.
Table of Contents
The Story Behind Gluten-Free Hamburger Buns
A Family Recipe with a Twist
Growing up, my Yiayia (grandmother) would spend hours in the kitchen making everything from savory pies to fresh loaves of bread. The smell of fresh, yeasty bread was the heart of our home, drawing everyone into the kitchen. In my early years, I didn’t understand the value of those breads—until I started cooking for others. My journey with gluten-free cooking began when I realized how many people couldn’t partake in such meals due to gluten allergies and sensitivities.
As much as I loved making classic bread, I knew there was a need for a gluten-free alternative that didn’t compromise on flavor or texture. Through experimentation, I finally found the perfect mix of ingredients that gave these gluten-free hamburger buns that comforting softness without the risk of falling apart. What began as a necessity turned into a passion, and now, this recipe has become a staple at any barbecue, making it just as easy to cater for gluten-free guests as it is for those who can indulge in traditional wheat buns.
Why Gluten-Free Buns Matter
Gluten-free diets are more than just a trend—they’re a necessity for those with celiac disease or gluten intolerance. For many, eating gluten can lead to uncomfortable symptoms, ranging from digestive issues to fatigue. But gluten-free eating doesn’t mean giving up delicious meals. Gluten-free hamburger buns are one of those things that many people think they can’t enjoy anymore. However, these buns prove that you don’t need to sacrifice taste or texture just because you’re avoiding gluten. My buns are made with the same love and care that would go into traditional bread, making sure that those who need to avoid gluten don’t feel left out.

Soft Gluten-Free Dinner Rolls: A Family Tradition
Growing up, dinner rolls were always a special treat in our home. I remember the smell of freshly baked bread filling the kitchen, a warm, comforting scent that instantly made everything feel cozy. My grandmother, Yiayia, often made the best rolls, soft and pillowy, just the way I liked them. Over the years, as I began to experiment with gluten-free recipes, I longed for the same comforting experience, but with a twist that would accommodate my family’s dietary needs. After many trials and errors, I finally found the perfect recipe for soft gluten-free dinner rolls.
It’s amazing how a simple dish like dinner rolls can evoke such memories. My husband, Marek, and our daughter Emily always look forward to a batch of these rolls at the dinner table. There’s something magical about the way the dough rises, and as it bakes, the golden-brown crust forms, making the house smell just like Yiayia’s kitchen. These rolls are not only soft and delicious but also bring the family together for that shared moment around the table.
The beauty of these gluten-free rolls is in their simplicity. While the dough requires a bit of attention, the payoff is worth it. Soft, fluffy rolls that are easy to make and serve alongside any dish, from roasted chicken to hearty stews. The gluten-free twist means that no one has to miss out on this comforting favorite, making these rolls an essential part of our family meals.
In this article, we’ll walk you through the process of making these perfect soft gluten-free dinner rolls. The key to success lies in the ingredients, the method, and a little patience during the rise times. If you’ve never baked gluten-free bread before, don’t worry — I’ll guide you through every step, so you too can create soft, warm rolls that taste like home.
The Perfect Gluten-Free Dough
Once you have the ingredients ready, the first task is to activate the yeast. This step is crucial for ensuring your rolls rise properly and have that soft, airy texture we all love. In traditional recipes, this step might seem straightforward, but with gluten-free baking, the process requires a bit more attention to detail to get the dough just right.

Activating the Yeast
Start by combining the warm water with sugar and yeast. The sugar helps to feed the yeast, activating it and allowing it to become frothy. Make sure the water is warm, around 110°F. Too hot, and it will kill the yeast; too cold, and it won’t activate properly. After mixing it together, let the yeast sit for about 5 minutes. During this time, the yeast will bubble up and create a frothy foam. If you don’t see this, your yeast might be old or expired, so it’s a good idea to check the expiration date before you begin.
Making the Dough
While the yeast is activating, whisk the gluten-free flour and salt together in a large mixing bowl. If you have a kitchen scale, it’s helpful to measure the flour by weight, as gluten-free flour can vary greatly in density. Once the yeast is frothy and ready, pour it into the dry ingredients along with the olive oil, egg, and milk.
The dough will come together as you mix it, but it will be slightly stickier than traditional bread dough. Don’t worry — this is perfectly normal for gluten-free dough. Unlike wheat dough, gluten-free dough doesn’t require kneading in the same way, as there’s no gluten to develop. Instead, gently mix it until all the ingredients are combined into a smooth dough. It should feel soft and pliable but still a bit sticky.
The key to the best gluten-free rolls is ensuring the dough is hydrated properly, so make sure the consistency is not too dry. If it feels too stiff, add a little more water or milk, one tablespoon at a time.
Shaping and Rising for Soft Rolls
Now that you’ve mixed the dough and it’s come together beautifully, the next step is shaping the rolls and allowing the dough to rise. This is a crucial part of the process, as it will give the rolls their signature fluffy texture and lightness.
Shaping the Rolls
After the dough has come together, it’s time to shape it. The dough will be slightly sticky, so it’s important to flour your hands or use a little oil to prevent it from sticking to your fingers. Divide the dough into 8-10 equal portions. You can use a kitchen scale to make sure each roll is roughly the same size, but it’s not critical.
Once divided, shape each piece of dough into a small, smooth ball. To do this, gently fold the edges of the dough underneath itself and pinch them together. Then, roll the dough in your hands to form a smooth, round ball. Place the shaped rolls onto a greased or parchment-lined baking sheet. Be sure to leave some space between each roll, as they will expand during the second rise.First Rise: Letting the Dough Rest
After shaping the rolls, cover the baking sheet with a clean kitchen towel. Place the rolls in a warm spot, like an oven that’s been preheated to the lowest setting and then turned off, or on top of your stove if it’s warm from cooking.
Let the dough rise for about an hour, or until the rolls have doubled in size. This rise is crucial, as it’s when the yeast does its magic and makes the dough fluffy. While waiting, try not to disturb the rolls too much. The yeast needs time to work, and the dough needs space to expand.
You might be wondering how the dough should look when it’s done rising. Ideally, it should feel airy and soft to the touch, and the rolls will have expanded enough to touch each other slightly. If the dough hasn’t doubled in size within an hour, give it a little more time. Gluten-free dough often takes a bit longer to rise than wheat-based dough, so don’t rush it.

Baking and Serving the Perfect Gluten-Free Rolls
Now that your dough has risen beautifully, it’s time to bake these soft, gluten-free dinner rolls to perfection. The second rise and the baking process are key to ensuring the rolls turn out soft, golden, and irresistible.
Second Rise: Preparing for Baking
Once your dough has doubled in size, it’s time for the second rise. Gently cover the shaped rolls again with a clean kitchen towel. Let them rise for an additional 30 minutes. During this time, the dough will continue to expand, becoming lighter and fluffier. The rolls should almost fill the space on the baking sheet, touching each other slightly.
It’s important not to skip this step, as it gives the rolls their final rise before baking. The second rise will ensure that the rolls bake evenly and have that pillowy, soft texture you’re looking for. While the rolls are rising, preheat your oven to 375°F. Make sure the oven is fully heated before you put the rolls in, as this helps them rise quickly and evenly in the oven.
Baking the Rolls to Golden Perfection
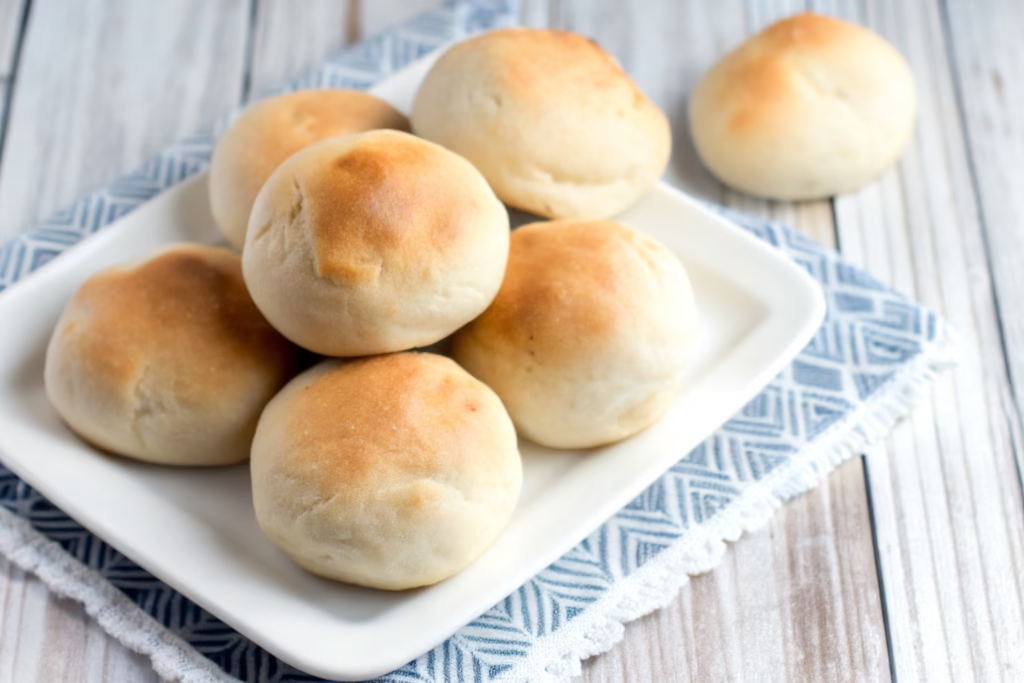
Once your rolls have completed the second rise, it’s time to bake them! Place the baking sheet in the center of your preheated oven. Bake the rolls for 18-20 minutes, or until they are golden brown on top. The exact time may vary slightly depending on your oven, so keep an eye on them toward the end. You can also gently tap the top of a roll; if it sounds hollow, they are ready to come out of the oven.
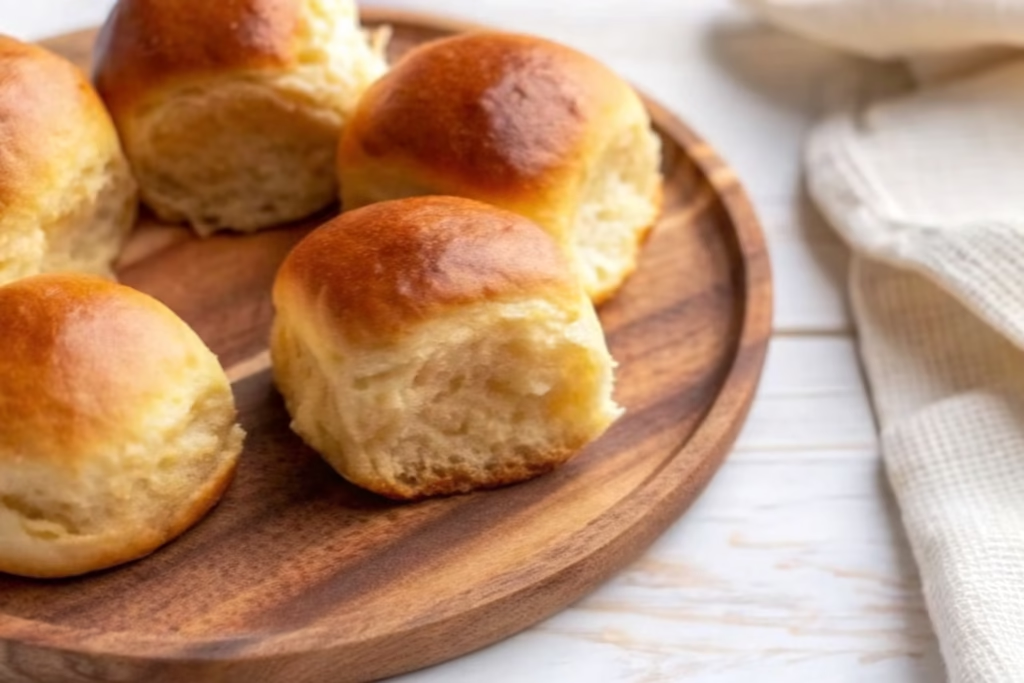
For a soft, buttery finish, you can brush the top of the rolls with melted butter or olive oil as soon as they come out of the oven. This gives them a beautiful shine and adds a rich, savory flavor. Let the rolls cool on the baking sheet for a few minutes before transferring them to a wire rack to finish cooling. This step helps to maintain their soft texture.
PrintMain Title: Gluten-Free Hamburger Buns – Perfectly Soft and Fluffy!
These soft gluten-free dinner rolls are a family favorite, providing the perfect balance of tenderness and flavor. A wonderful addition to any meal, especially for those avoiding gluten.
- Prep Time: 15 minutes
- Cook Time: 20 minutes
- Total Time: 1 hour 35 minutes
- Yield: 8–10 rolls 1x
- Category: Side Dish
- Method: Baking
- Cuisine: Gluten-Free
Ingredients
- 2 1/4 teaspoons active dry yeast
- 1 teaspoon sugar
- 1 cup warm water (110°F)
- 3 cups gluten-free all-purpose flour blend
- 1 teaspoon salt
- 1/4 cup olive oil
- 1 egg
- 1/2 cup milk (or dairy-free milk)
- 1 tablespoon melted butter (optional, for brushing)
Instructions
- In a small bowl, combine warm water and sugar. Sprinkle yeast on top and let it sit for 5 minutes until frothy.
- In a large bowl, whisk together gluten-free flour blend and salt.
- Add the yeast mixture, olive oil, egg, and milk to the dry ingredients. Mix until the dough comes together. The dough will be sticky.
- Divide dough into 8-10 equal portions. Shape each portion into a ball and place them on a greased or parchment-lined baking sheet.
- Cover with a clean kitchen towel and let rise in a warm place for 1 hour or until doubled in size.
- Preheat oven to 375°F. After the dough has risen, gently cover the rolls with a towel and let them rise for another 30 minutes.
- Bake for 18-20 minutes, or until the tops are golden brown. Optionally, brush with melted butter for a glossy finish.
- Let the rolls cool on a wire rack before serving.
Notes
Ensure the yeast is active and the water temperature is right (110°F). If you don’t have xanthan gum in your flour blend, you may need to add it to ensure proper structure.
Nutrition
- Serving Size: 1 roll
- Calories: 150
- Sugar: 2g
- Sodium: 180mg
- Fat: 7g
- Saturated Fat: 1g
- Unsaturated Fat: 5g
- Trans Fat: 0g
- Carbohydrates: 20g
- Fiber: 1g
- Protein: 3g
- Cholesterol: 15mg
FAQ Section: Answering Your Gluten-Free Roll Questions
1. Can I use a different gluten-free flour blend?
Yes! You can use any gluten-free all-purpose flour blend that includes xanthan gum or guar gum, which are essential for giving the dough structure and elasticity. Just make sure to check the package to see if the blend already contains these ingredients. If not, you may need to add about 1 teaspoon of xanthan gum for every cup of flour used.
2. Can I make the dough ahead of time?
Yes! You can prepare the dough ahead of time and let it rise in the refrigerator. After mixing the dough and before the first rise, cover it tightly with plastic wrap or place it in an airtight container and refrigerate it for up to 24 hours. When you’re ready to bake, simply let the dough come to room temperature, shape it into rolls, and proceed with the second rise and baking.
3. My rolls didn’t rise as much as I expected, what went wrong?
There could be a few reasons why your rolls didn’t rise as much as expected. One common issue is yeast that’s past its expiration date. If the yeast doesn’t activate, your rolls won’t rise properly. Also, ensure that the water used to activate the yeast was at the right temperature (around 110°F). Too hot or too cold water can affect the yeast’s ability to activate. If the kitchen is too cold, try placing the dough in a warmer spot or using the “proof” setting on your oven.
4. How can I make my gluten-free rolls softer?
If you’re looking for even softer rolls, try adding a bit more fat to the dough, such as an extra tablespoon of olive oil or melted butter. You can also replace the milk with buttermilk for added tenderness and flavor. Lastly, ensuring that your dough has the right hydration and is not too dry can make a huge difference in texture. Always keep an eye on the dough as you mix and add liquid gradually until it reaches the right consistency.
Conclusion: Serving Up Soft, Gluten-Free Rolls
Making soft gluten-free dinner rolls doesn’t have to be difficult. With a few simple steps, you can create warm, pillowy rolls that will be loved by all — gluten-free or not. Whether you’re serving them with a hearty soup, a family dinner, or as a snack on their own, these rolls will add a touch of comfort to your meal.
Baking these rolls is about more than just following a recipe; it’s about bringing people together. It’s about sharing memories in the kitchen, just like I did with my Yiayia. So go ahead and get baking — I hope your kitchen fills with the same wonderful aroma of freshly baked bread and that your family enjoys every soft, delicious bite.
👉 I hope you loved baking up these Soft Gluten-Free Dinner Rolls—they’re fluffy, soft, and perfect for any meal, especially if you’re craving something with a little extra warmth and comfort.
Looking for more delicious bread recipes? Try our No-Knead Rosemary Garlic Bread, a simple yet flavorful loaf that’s sure to impress. If you want to try another gluten-free treat, check out our Gluten-Free Greek Quinoa Salad, a refreshing, healthy option.
For more bread and side dish ideas, make sure to visit Air Fryer Pull-Apart Cheese Garlic Bread on SantMD, perfect for any cheese lover.
If you’re interested in more gluten-free options, be sure to explore this Garlic Shrimp Pasta Recipe, or treat yourself with this Easy Banana Pudding Cake.
Feel free to join us on our Facebook Page and Facebook Group for updates and community engagement. Don’t forget to check out our Pinterest.


